So I don’t usually get too excited about the final products of the crafts I make. Mostly because they are not up to my rediculously high standards of having that store-bought look. But I have to tell you. That has all changed.
A few weeks ago I was looking for an easy Christmas painting to try out on one of the many canvases laying in my basement. I looked for a while until I came across this blog.
She showed how she made her very own version of an expensive Pottery Barn painting and for a fraction of the cost! Might I add the original Pottery Barn Santa was over $100?!? I loved how it looked but wanted a similar look without putting a dent in my pocket. I was sold.
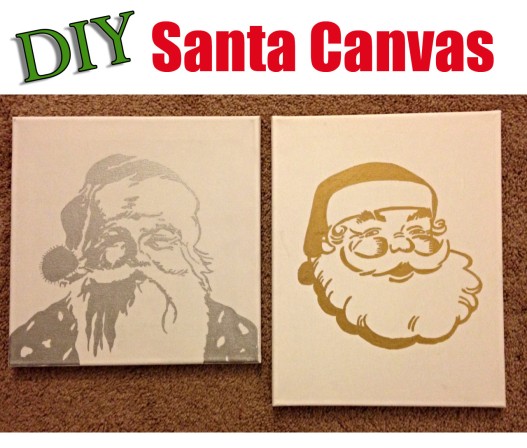
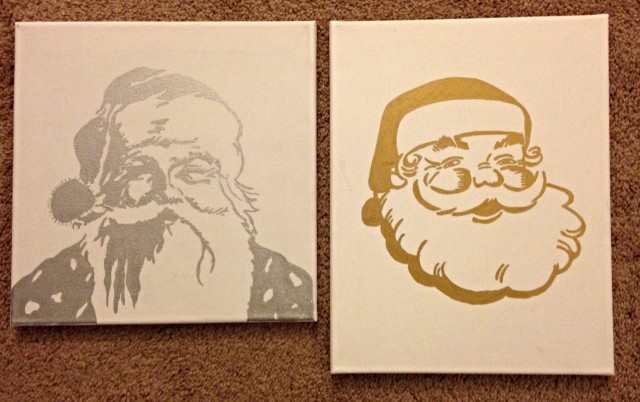
^^ Santa on the left is my vintage-Santa and the one on the right is my retro-Santa. The vintage-Santa is the print that is used on the original over-priced Pottery Barn Santa.
This project takes very few materials and if you can trace a picture and color in the lines, you can accomplish this one.
The first step is finding a Santa picture you like (or any picture for that matter). I found both of these (A and B). The one on the left (A) was the original Pottery Barn art that I fell in love with, but I also loved the retro-ness of the one on the right (B).
So I tried both.
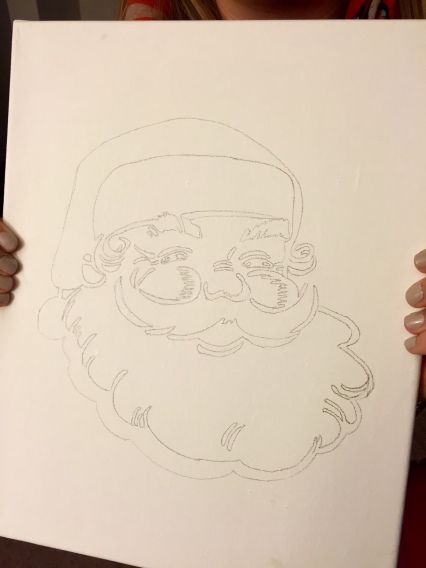
I printed the images out and with the side of a pencil, shaded the entire back of the image. Then, I flipped the image over so it was laying face up on the canvas. Make sure to tape down the image on your canvas otherwise the paper will slip and you’ll lose your tracing lines.
I then traced the entire Santa face. Tracing it will then transfer the shading from the opposite side onto the canvas. I will warn you it will be VERY light. So after I was done tracing the Santa face, I went over the faint lines on the canvas once more with a pencil. This made it SO much easier to see.
Now that I had the picture on my canvas, all I had to do was paint! I picked up some paint pens, ones that have a calligraphy tip, to make angles easier. You can pick any color, but I chose gold for my retro-Santa and silver for my vintage-Santa.
I filled in the lines with my paint, referring back to the original image when necessary. And that’s it! If you want, you can add a colorful border which I plan on doing.
Or if you’re feeling extra whimsical, you can go over your paint with clear ModgePodge and then cover it in glitter. I bought gold glitter for my retro-Santa but was so happy with how it turned out, I decided against the glitter.
It was such an easy project and one that I can now use for other holidays. You can really make it as personal as you want since you are the one making it your own. I don’t know why I never thought to do this before. So please don’t spend an arm and a leg for holiday canvas! Just make your own!
So, tell me! Which Santa do you like better?
Come back soon to see where I place it in our new placeand be sure to check out A Bowl Full of Lemons and Ladybug Blessings for other great craft ideas!


